Argyrotype Instructions (using Fotospeed sensitizer and 10x8 home-developed negatives)
Argyrotype is the modern invention of Mike Ware, modifying Sir John Herschel’s 19th-century argentotype process; an iron-based silver process that produces toned images using UV exposure to contact-printed sensitized paper but without the raw cost of the better-known platinum/palladium processes.
These instructions are a mix of personal experience, trial and error, and reading of Christopher James’ Alternative Photographic Processes book. Consistency of tone and appearance of print is difficult to reproduce between different exposures of the same negative, even in the same printing session, seemingly because precise colour is governed by temperature and humidity at time of sensitizing, and length of time paper is dried before exposure. I have no experience of other techniques beyond Cyanotype, but suggest that this process is about as technical, though results vary much more significantly.
Before beginning this process, if in particular you are using an entirely analogue workflow, with large format home developed B&W negatives, it will be very important to get an appropriate exposure and film development process well in hand, including by running a film-speed and development test for this specific process. This would also mean that it is worth using a staining developer such as Pyrocat HD, with a versatile film such as Ilford FP4+.
If you want perfection I suggest you go with an entirely digital workflow! Trial and error is part of the fun, though different tonal qualities in prints can be dialled in with some practice and experience - my own notes on this below.
Step 1.
Check equipment – inc. chemistry in date etc.: Fotospeed sensitiser, Tween20, Hypo crystals. I have a Lotus 12x16” contact printer, which is really excellent and easy to use, if somewhat expensive. You will also need 3 large developing trays, a ready supply of rain water or distilled water (4 prints will use 12 litres of distilled/rain water for the two wash steps), a lemon (I use 1 lemon for four prints), suitable paper, a large jug, shot glasses, pipettes, paper towels, nitrile gloves, pencil and ruler, scalpel, rocket blower, coating brush, crystal clear envelopes, timer, humidity and temperature gauge, and somewhere to store the paper while drying.
Step 2.
Select negatives and mark up paper accordingly (e.g. if you have a square crop alongside normal 10x8s). Use a very fine/sharp pencil such as 6H. With Bergger Cot320 11x14”, the paper I use, go with the smooth side.
Step 3.
Sensitize paper in a darkened place away from direct UV light (no prehumidification, but take notes of relative humidity and temperature at coating stage; tonal shifts can be created by prehumidifying the sensitized paper, but I’m yet to figure out how this controls the final image to my satisfaction, and it involves an extra step and a bit more equipment, so my preferred method is to control tone by sensitiser drying time: see below.)

3ml sensitizer + 1 drop (mixed 1:5 in distilled water) Tween20 for a 10x8” surface area – though again the addition of Tween20 may not be necessary and is dependent upon paper choice.
Paper coating troubleshooting (NB this is the step I find most difficult)
I’m currently using a Daler-Rowney hake brush. OK, but sheds hairs occasionally – may well upgrade to a more expensive synthetic brush (now done: no hairs!). Fotospeed Argyrotype sensitizer sometimes forms sediment; some filter paper in a separate shot glass may well come in handy; sometimes the paper coating is uneven, even with your best intentions (possibly an effect of using too much or too little Tween20, which is added to help with the absorption). You may want to have some spare paper made up in case you simply have to scrap a sheet and start again. You will also need the scalpel to remove any hairs or sediment that appears on the coating surface.
Step 4.
Dry the individual sheets of paper in a dark and dust-free place (I have made a slotted paper tray from cardboard, which I keep on a bookshelf covered with a black refuse sack to keep out light and dust. Given the length of time that the printing process takes, I suggest printing four sheets in a session will be enough for an afternoon using bright sunlight as the exposure light source - see further below for comments on tonal effects of paper drying time and rationale of a print-session.
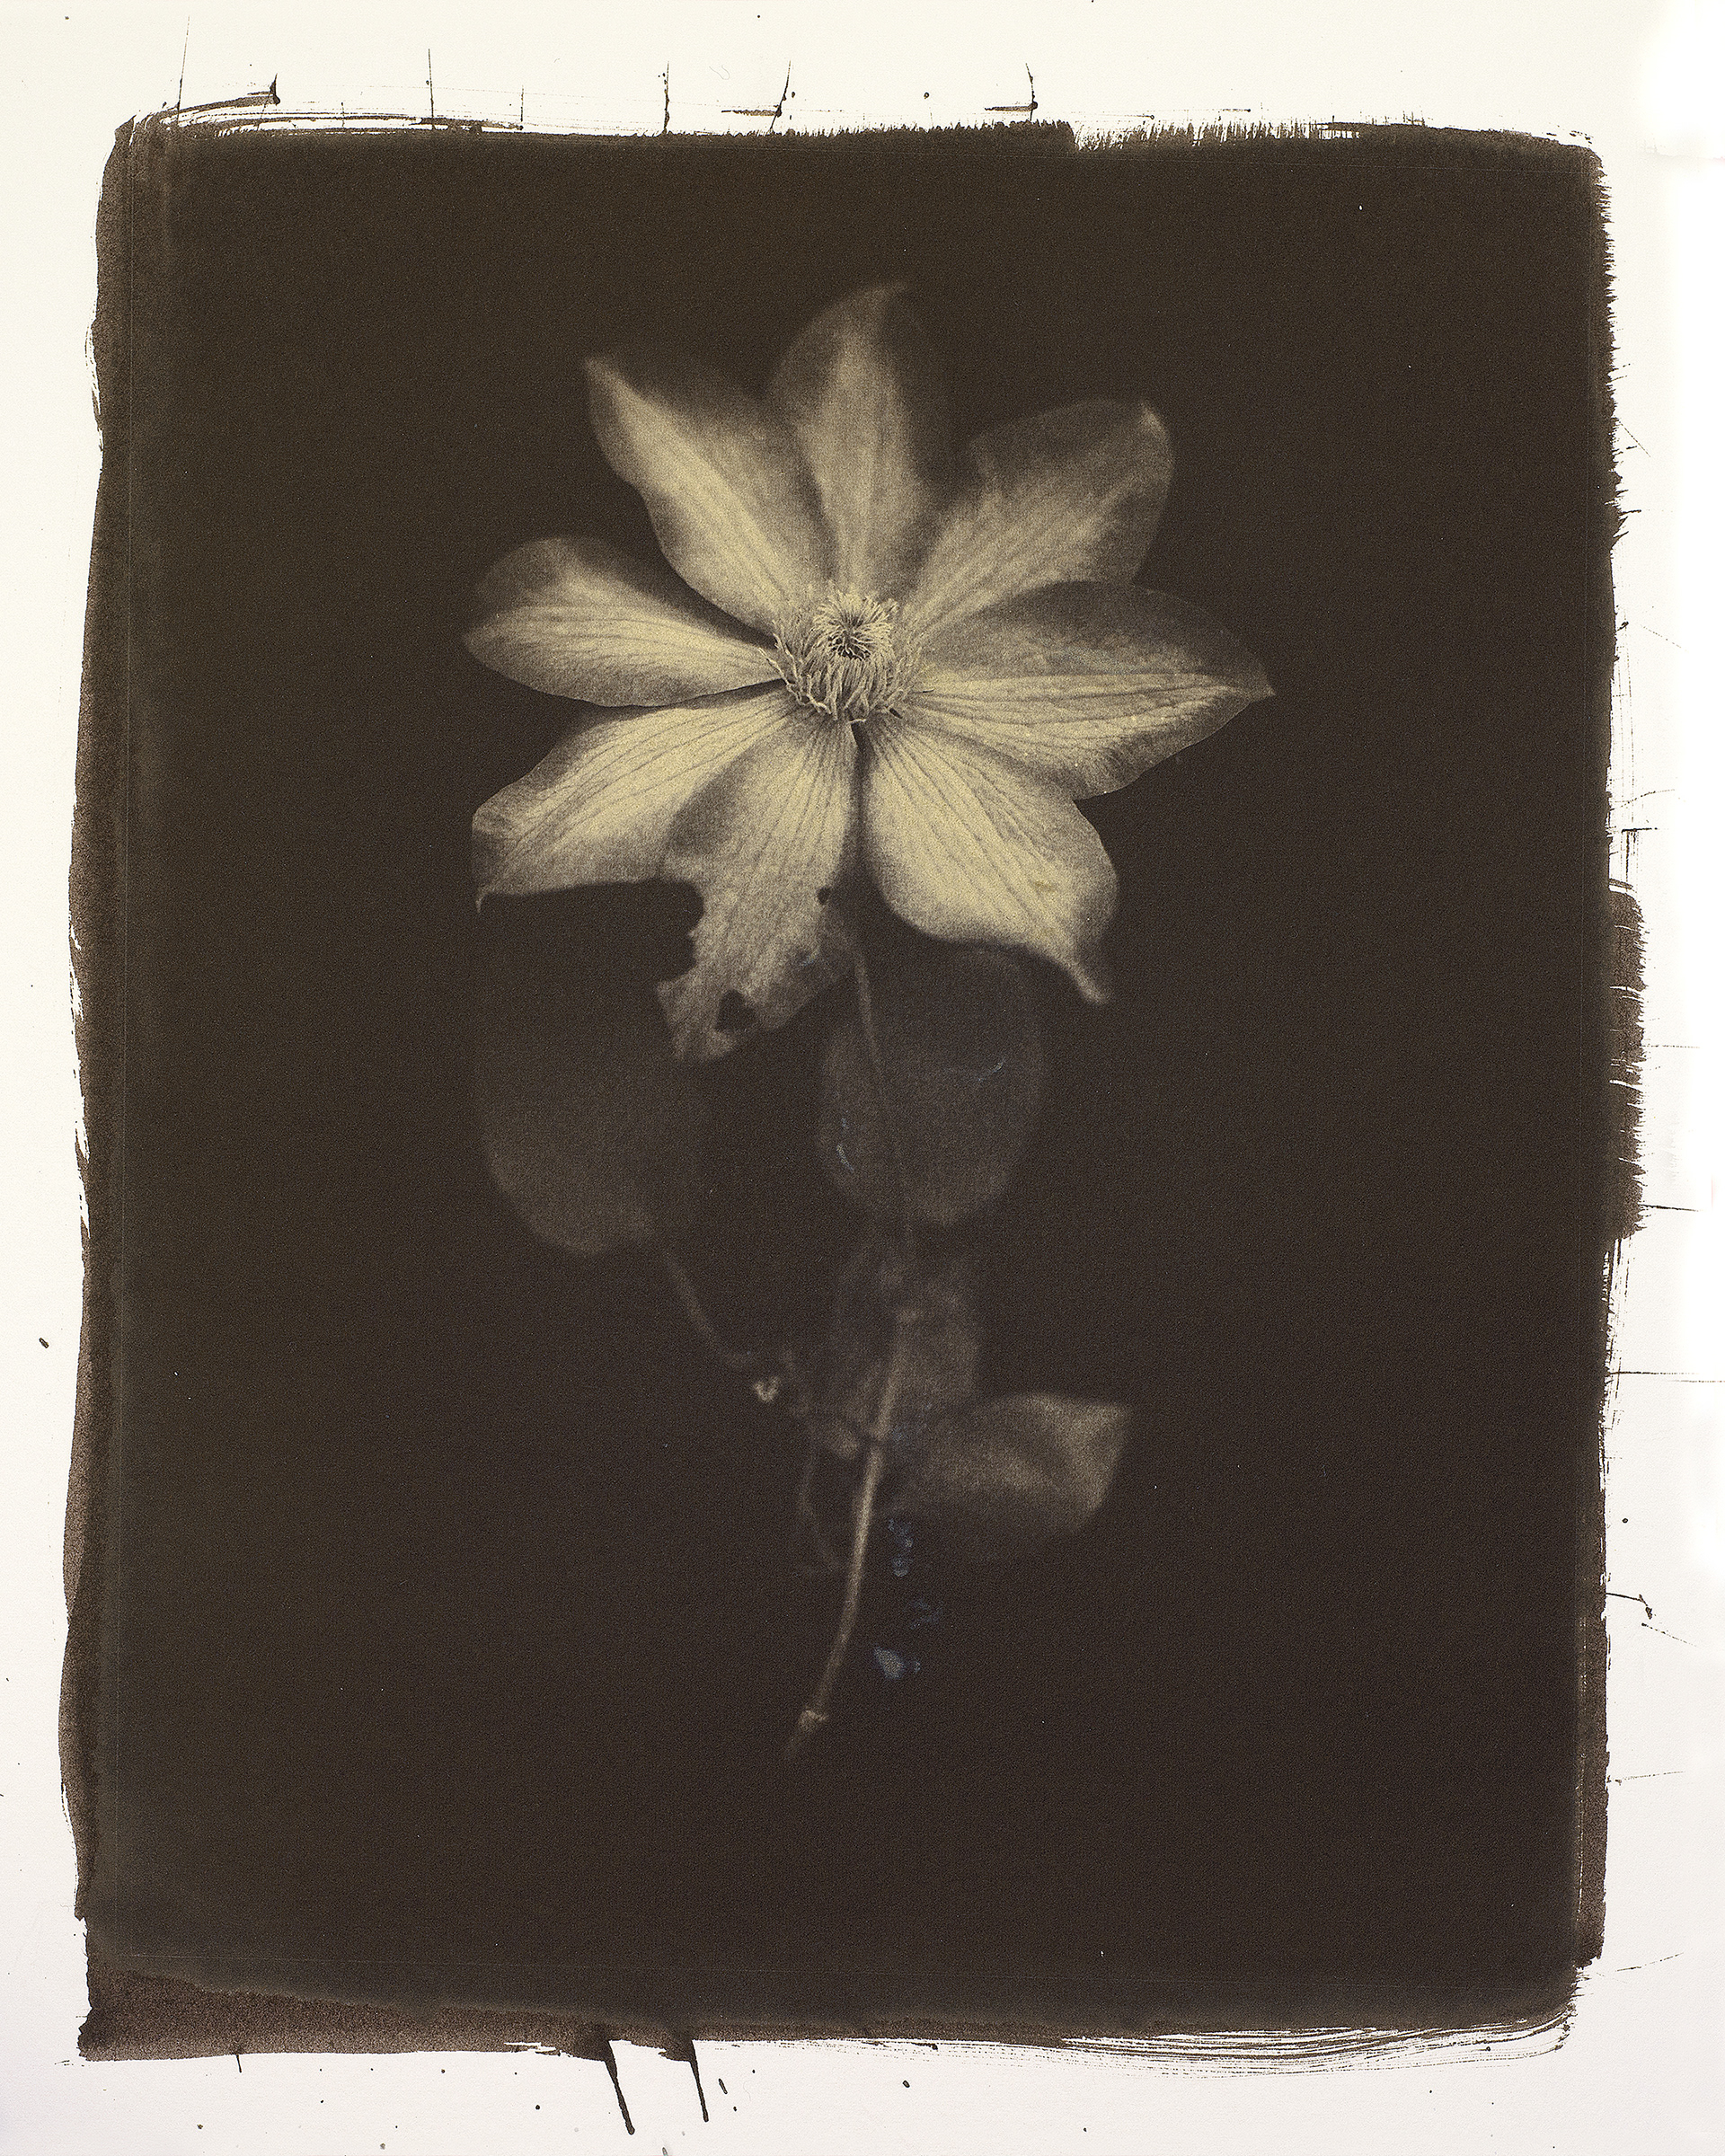
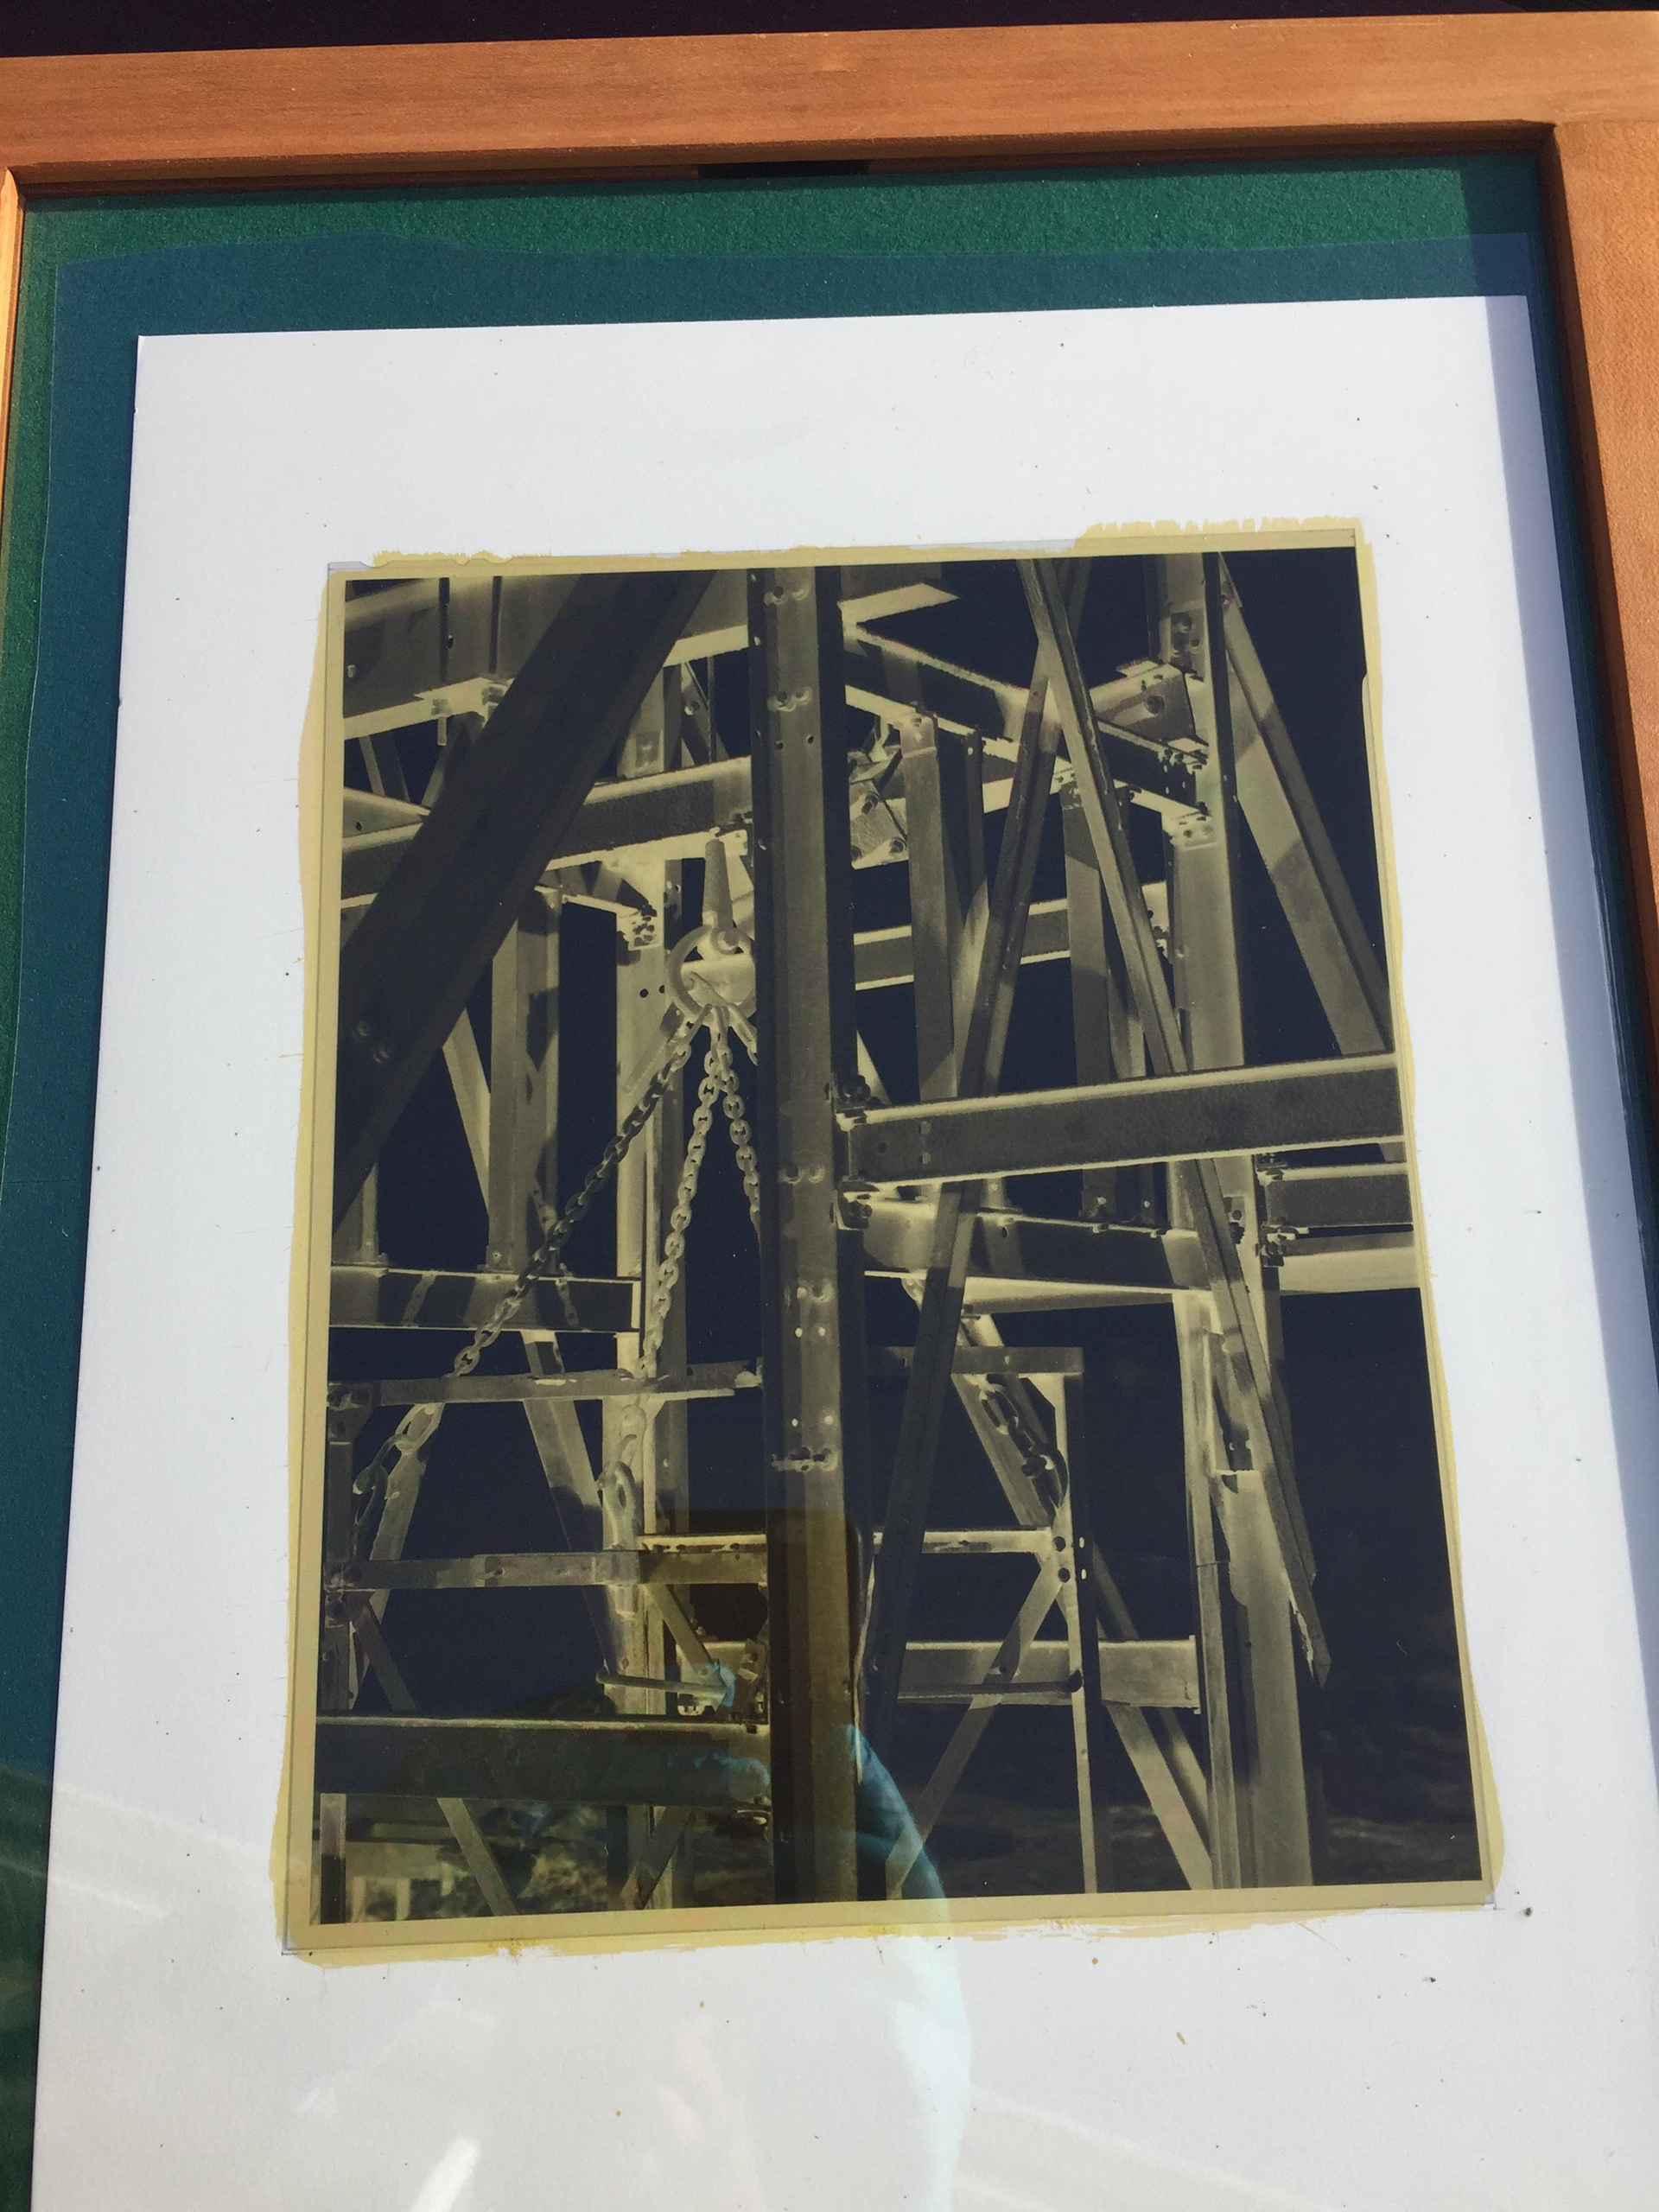
Of the prints shown on these pages, the paper drying time pre-exposure varied from 15mins to 2hrs20. At the lower end take care that the sensitiser doesn't simply wash off in the first wash bath below - perhaps a good idea to put the exposed print back in the dark to dry a bit longer after exposure before developing it. With a relative humidity between 40 and 50% in my working space, and a temperature of just above 20º (on a sunny day good for printing outside) my findings so far are that a drying time of less than 15mins gives a cool tone similar to platinum/palladium - perhaps best for landscapes and contemporary subjects (see Bonsall barn print); a time of around 45mins gives a lovely peach to aubergine tone, perhaps ideal for macro subjects or airy landscapes (see Clematis print 2, Arran landscape); a time of around 1hr20mins drying gives a neutral but brown tone (Clematis print 1), and times of 1hr40mins to 2hrs20mins give warm or very warm brown tones, the latter perhaps more suited to earthy organic subjects (e.g. the carrots print; also the print from Magpie mine - a shorter drying time would have changed the feel of the latter substantially).
An afternoon's session of printing, after you have coated four sheets, can thus be arranged in order of the tone you want according to the subject matter of the individual negatives - with the later sheets of paper left to dry for successively longer times while the earlier prints are being produced and put in the wash.
Step 5.
Expose
Summer full sun: from 4mins and up
Sun & clouds: 16mins and longer
Home UV unit also viable, but exposure times may be considerably longer, thus perhaps not particularly viable for a batch of sheets unless you have a whole weekend in winter to devote.
Place the sensitized paper in a crystal-clear envelope cut to size, place negative on top, then close the frame. Sandwiching the paper in this way is very important for this process, because you do not want to get wet sensitiser on either your negative or your printing frame glass; it also preserves the humidity level in the sensitiser, which produces the tone.
Basically, figure out a good time for a full exposure. You want to look for bronze solarisation around the uncovered edges of the sensitized area, but NB also to check for exposure in the print (something that is easy to forget to do). If in doubt, esp. with delicate exposures and tricky negatives, keep checking exposure and effect on highlight areas by periodically opening back of printing frame - perhaps every couple of minutes. This process has substantial dry-down, so the print after exposure needs to feel light and airy.
Step 6.
Develop/Wash
Wash 1: 2mins30 in 1.5litres distilled water/rain water with squeeze lemon juice
Wash 2: 2mins30 in 1.5litres distilled water/rain water
These wash steps are pretty critical. If this goes wrong, or you have an overdeveloped/overexposed negative, the image can simply wash away: very sad!! Water definitely needs not to be tap water here.
Fix: 3mins hypo (4 and a bit teaspoons of crystals in 1.5l tap water)
Final wash: I float the sheets for 30mins each side in 3 litres of tap water. (This is probably rather short and may also warrant a quick hypoclear bath first: perhaps 1.5-2hrs with 4 or 5 changes of water per hour, to include at least 30mins face up to wash the back of the print as well as the front.)
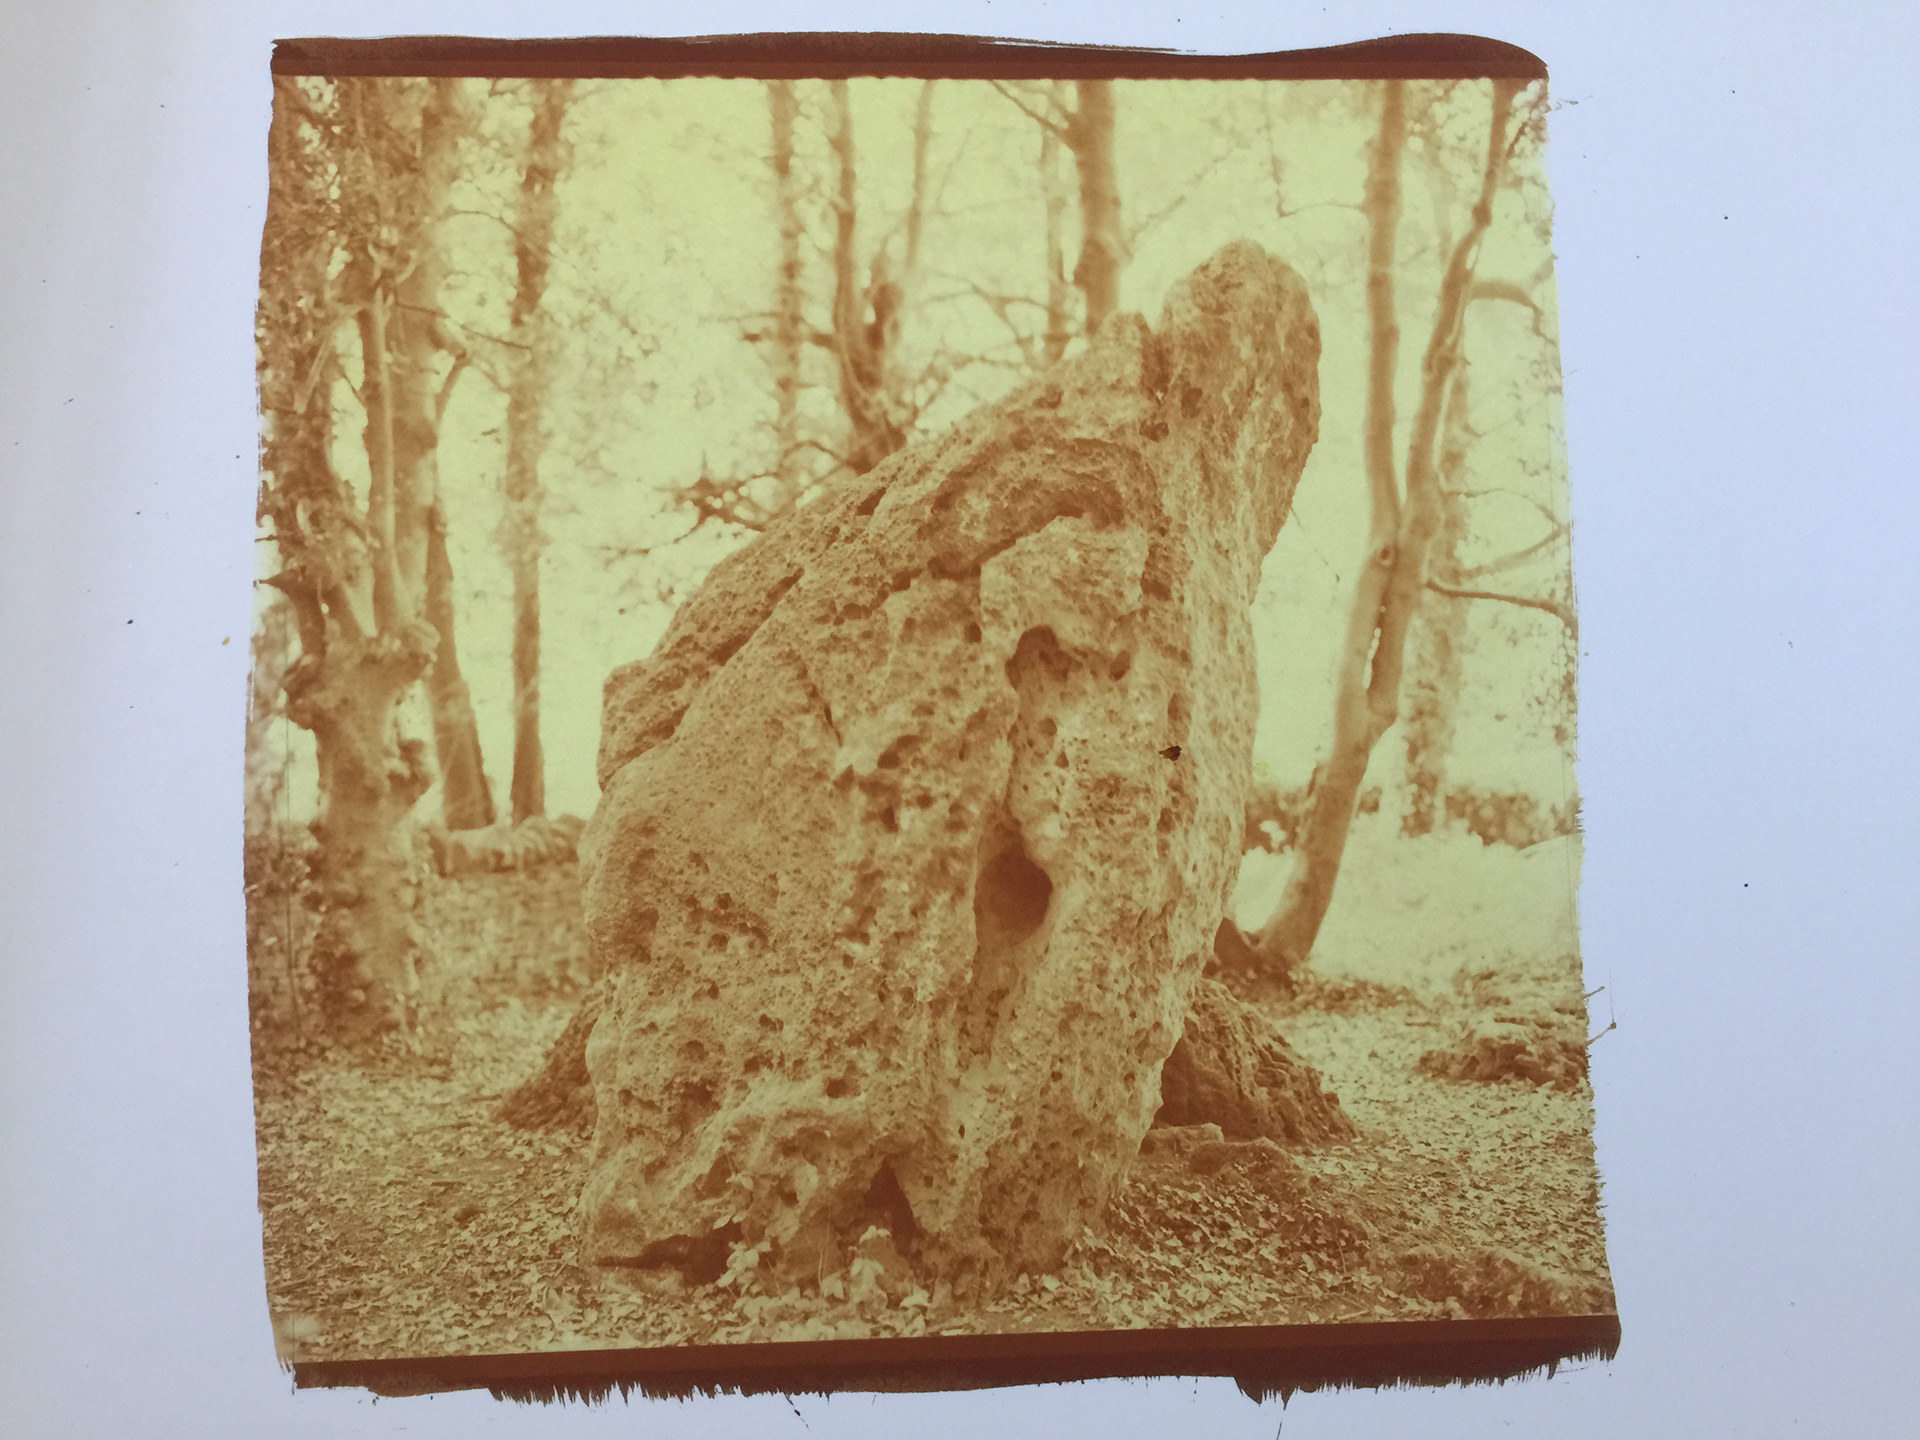
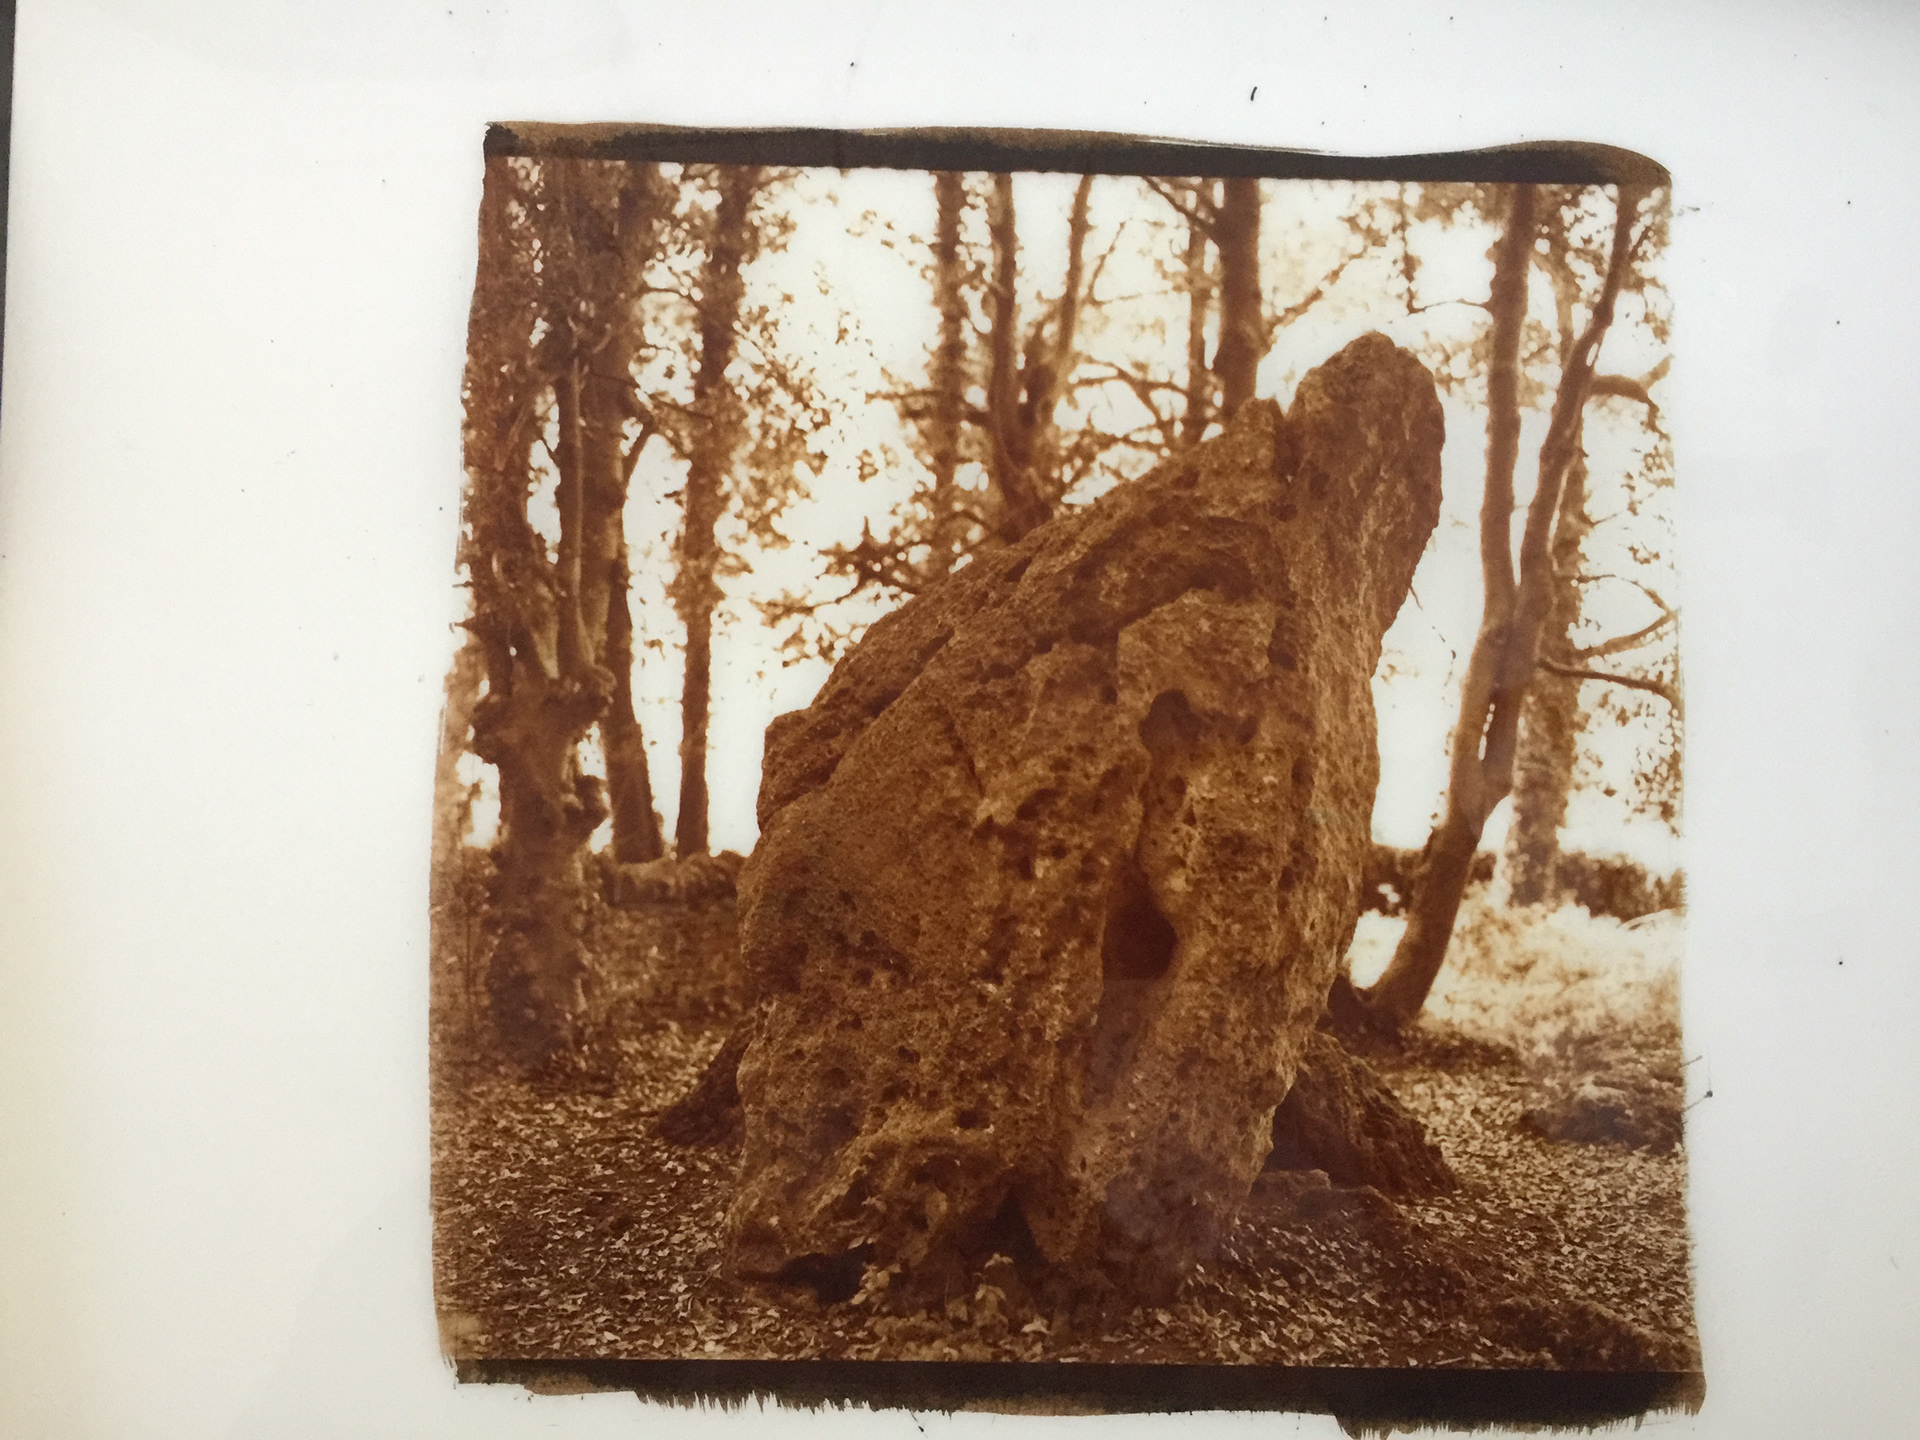
The pair of images below shows the change from the first wash through to the end of the fixing.
Hang to dry for a few hours. I use a home clothes dryer, and, rather than clothes pegs, women’s coat hangers which often have broader and softer grips (to avoid peg indentation marks even on a flattened print).
Dry flat under boards/tissue paper/books for at least 48 hours. Again, be aware of dry-down: prints darken by at least 1 stop over the course of the next week.
Possible further step (yet to try this, though I can vouch that prints hanging for a year in a lit room without direct sunlight have shown no signs of degradation so far)
Tone for permanence (do a test on an old print first):
Soak print in water for 10mins
Selenium toner 1:20 (or weaker: check specific toner instructions), for permanence only, two minutes or longer.
Agitate in a water tray for 30 seconds, then soak each side in water as before. Perhaps add a hypoclear stage in this sequence too.
Soak print in water for 10mins
Selenium toner 1:20 (or weaker: check specific toner instructions), for permanence only, two minutes or longer.
Agitate in a water tray for 30 seconds, then soak each side in water as before. Perhaps add a hypoclear stage in this sequence too.