Here I run through a quick sequence for editing digital (mainly DSLR RAW) files in Photoshop, where you want good colour and contrast. I do this especially for images that are intended to match detail images made on colour slide film, especially large format Velvia 50. NB this absolutely will *not* work for attempting to replicate the colour and feel of colour negative films (though a quick tip there is to move the white balance and warm up the highlights).
Step one: duplicate the base layer and convert to Lab Color. Set layer not to flatten. Move luminosity sliders in from both ends by 40 points (i.e. 40-215). Change mode back to RGB but do not flatten layer. This essential base step increases the pop and colour contrast in the image. Change layer opacity to suit. For DSLR files I tend to go for maybe 30-40%; for iPhone I probably leave at 100%.
Step two: mid-tone contrast (for this step and the next you will need a series of luminosity masks done via work on channels: tutorials are available online elsewhere to show you how to do this: quick and easy to do but quite difficult to explain it!).
Select the mid-tones mask from channels (for me this channel is created by 'select all' minus 'light lights' and 'dark darks'), add increase contrast curve. Adjust opacity to taste. Again, this sets the contrast right to mimic slide film some more.
Step three: desaturate and darken the deepest shadows. This has a subtle effect but again replicates slide film; digital files tend to have pronounced over saturation in the shadows. Select the ‘super darks’ channel mask (for me, this is one process down the luminosity masks after ‘dark darks’). Do a saturation mask for this and desaturate by 30 and darken by 40.
Step four: global saturation change. Increase master saturation by 5 points. Change H/S/L for yellows as follows: +2/-5/-7. This has the effect of reducing the yellow cast of especially digital greens, and adding some global saturation to the image.
Step five: luminosity balance. Make a new colour balance layer, set blend mode to luminosity, and make the following adjustments: Shadows -5/0/+5; Highlights +5/0/-10 (yellows can be adjusted to suit). Again this adds subtle colour contrast to the image, but without altering the global saturation already set.
Step six: Globally add more contrast as required. I use a strong contrast curve at low-ish opacity and again with blending set to luminosity to avoid changing saturation.
Step seven: final white balance curve. Use curves to correct white balance. Also go back to the original Lab colour layer and adjust opacity to suit.
Step eight (optional): uses brush to alter masks in various previous steps to adjust detail in image to suit.
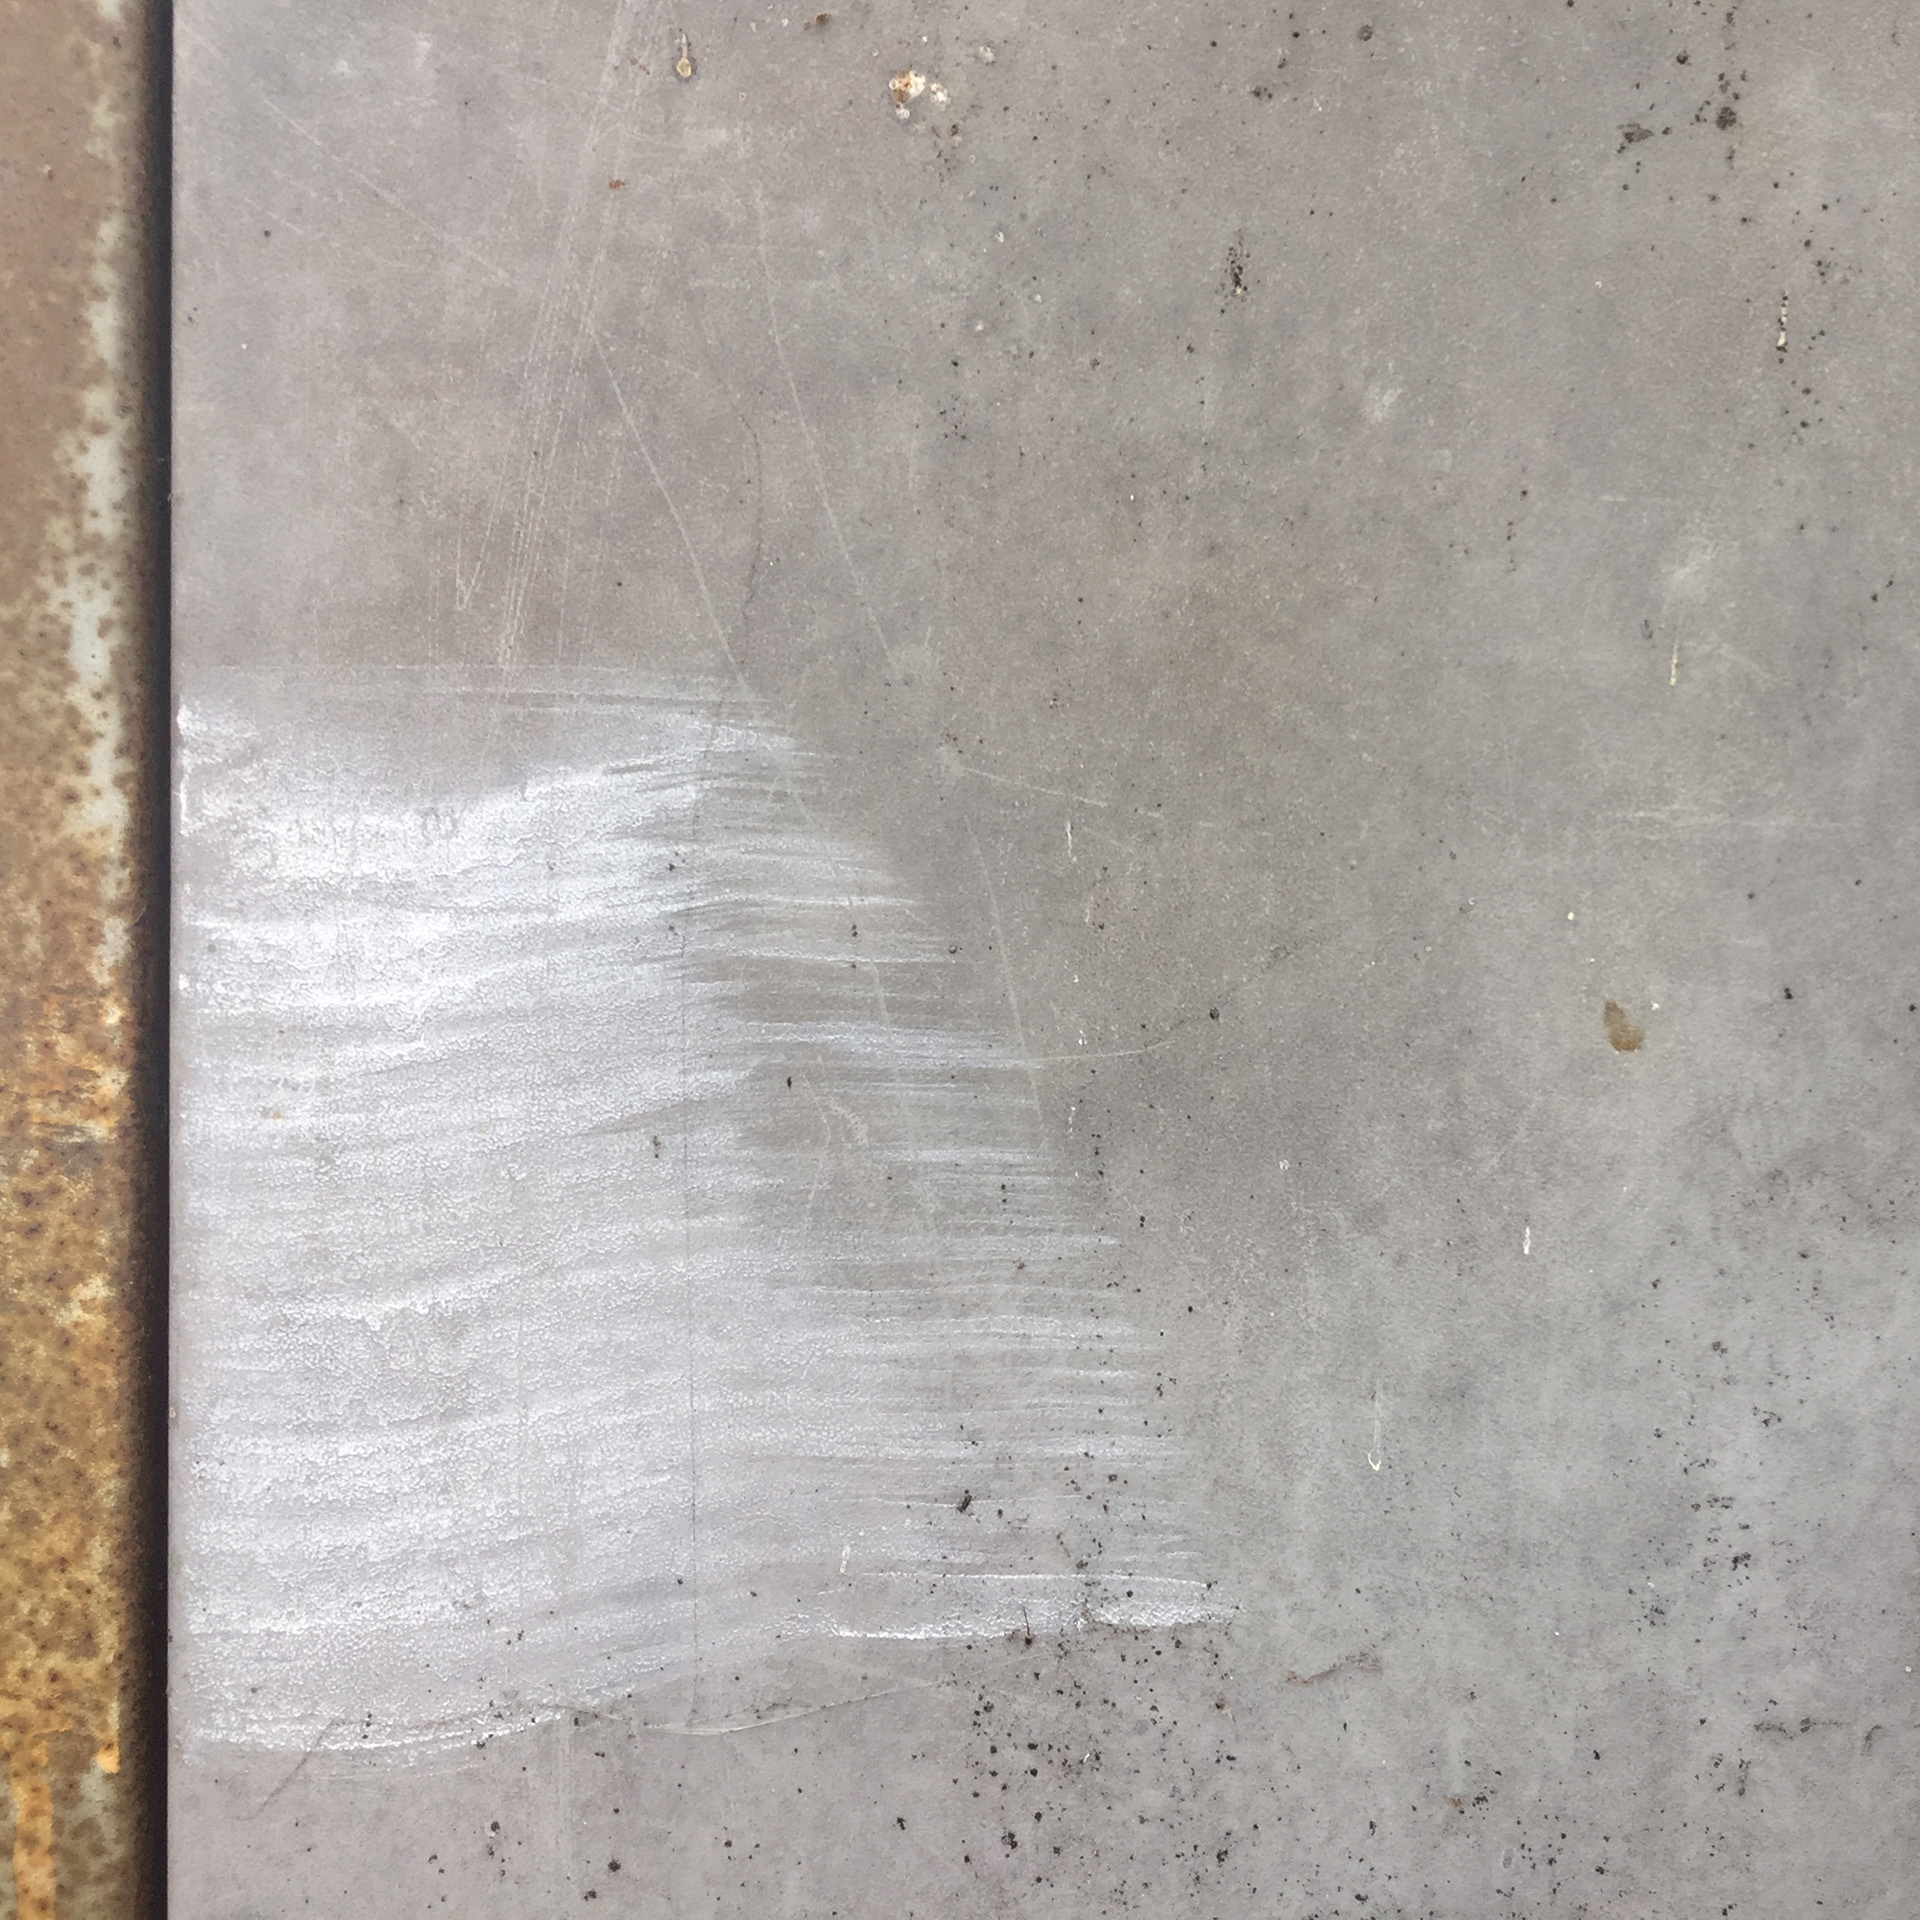
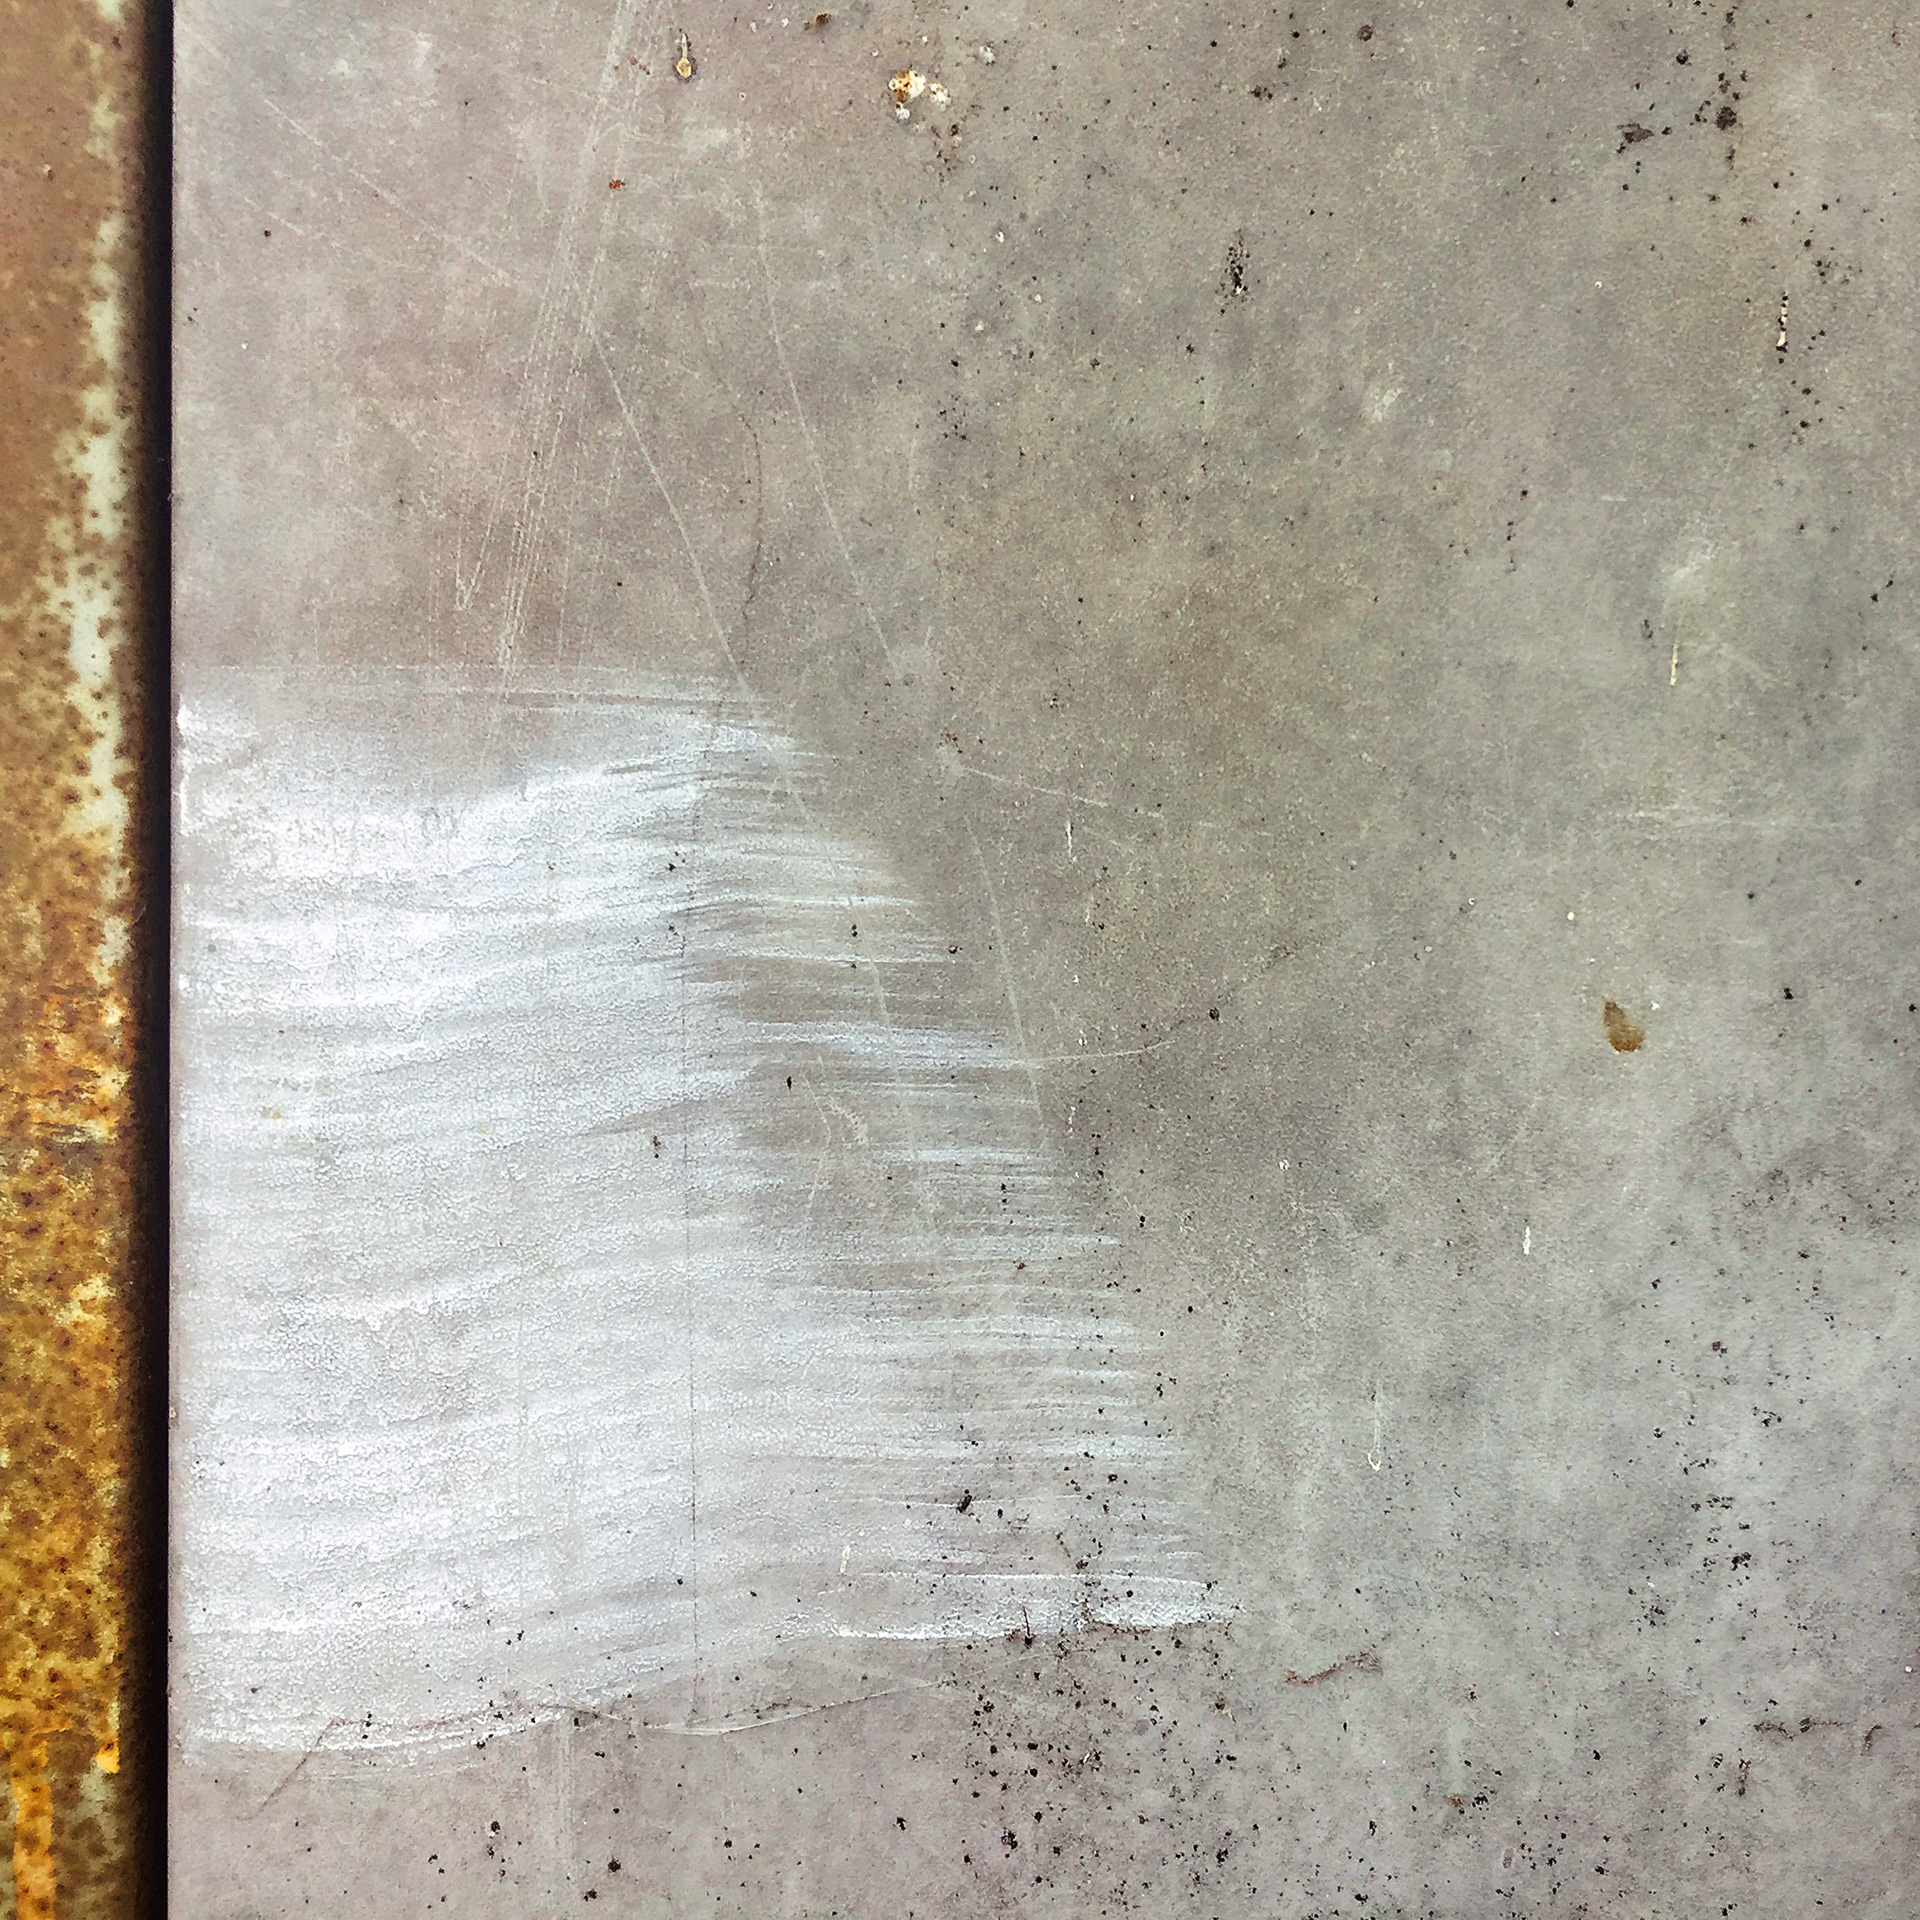
Before/after example from iPhone image to show the difference below. I do this as a matter of course with Raw files from my Nikon D800E for these kinds of closeup detail shots.
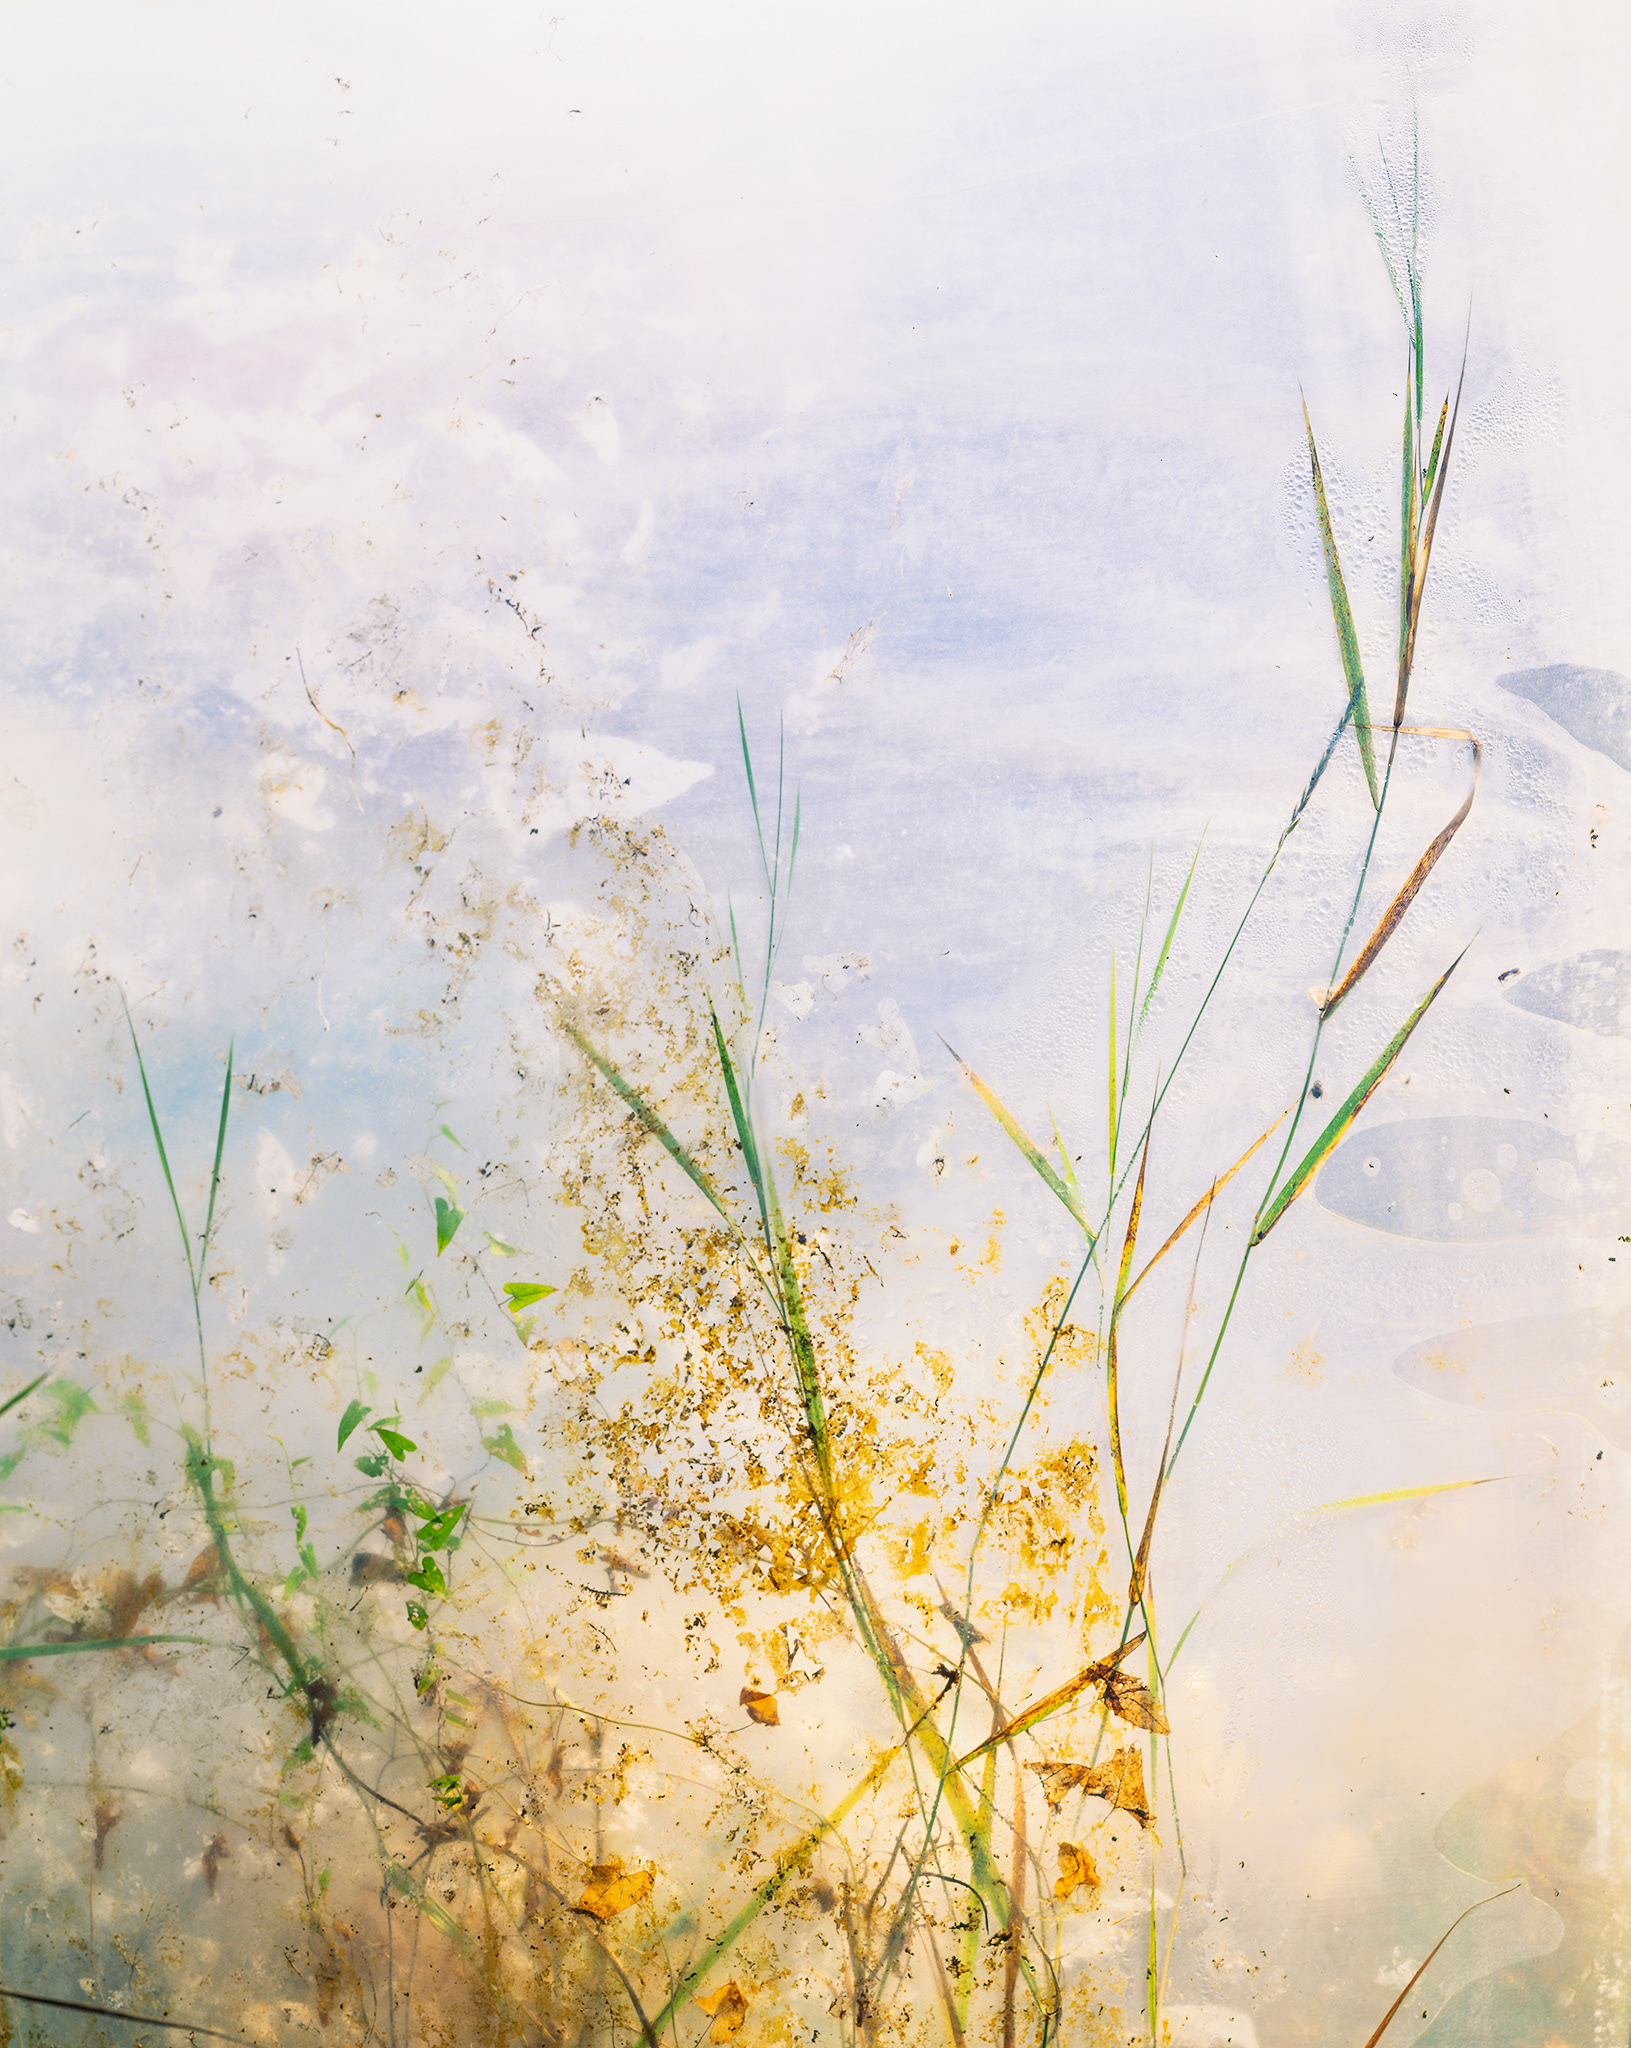
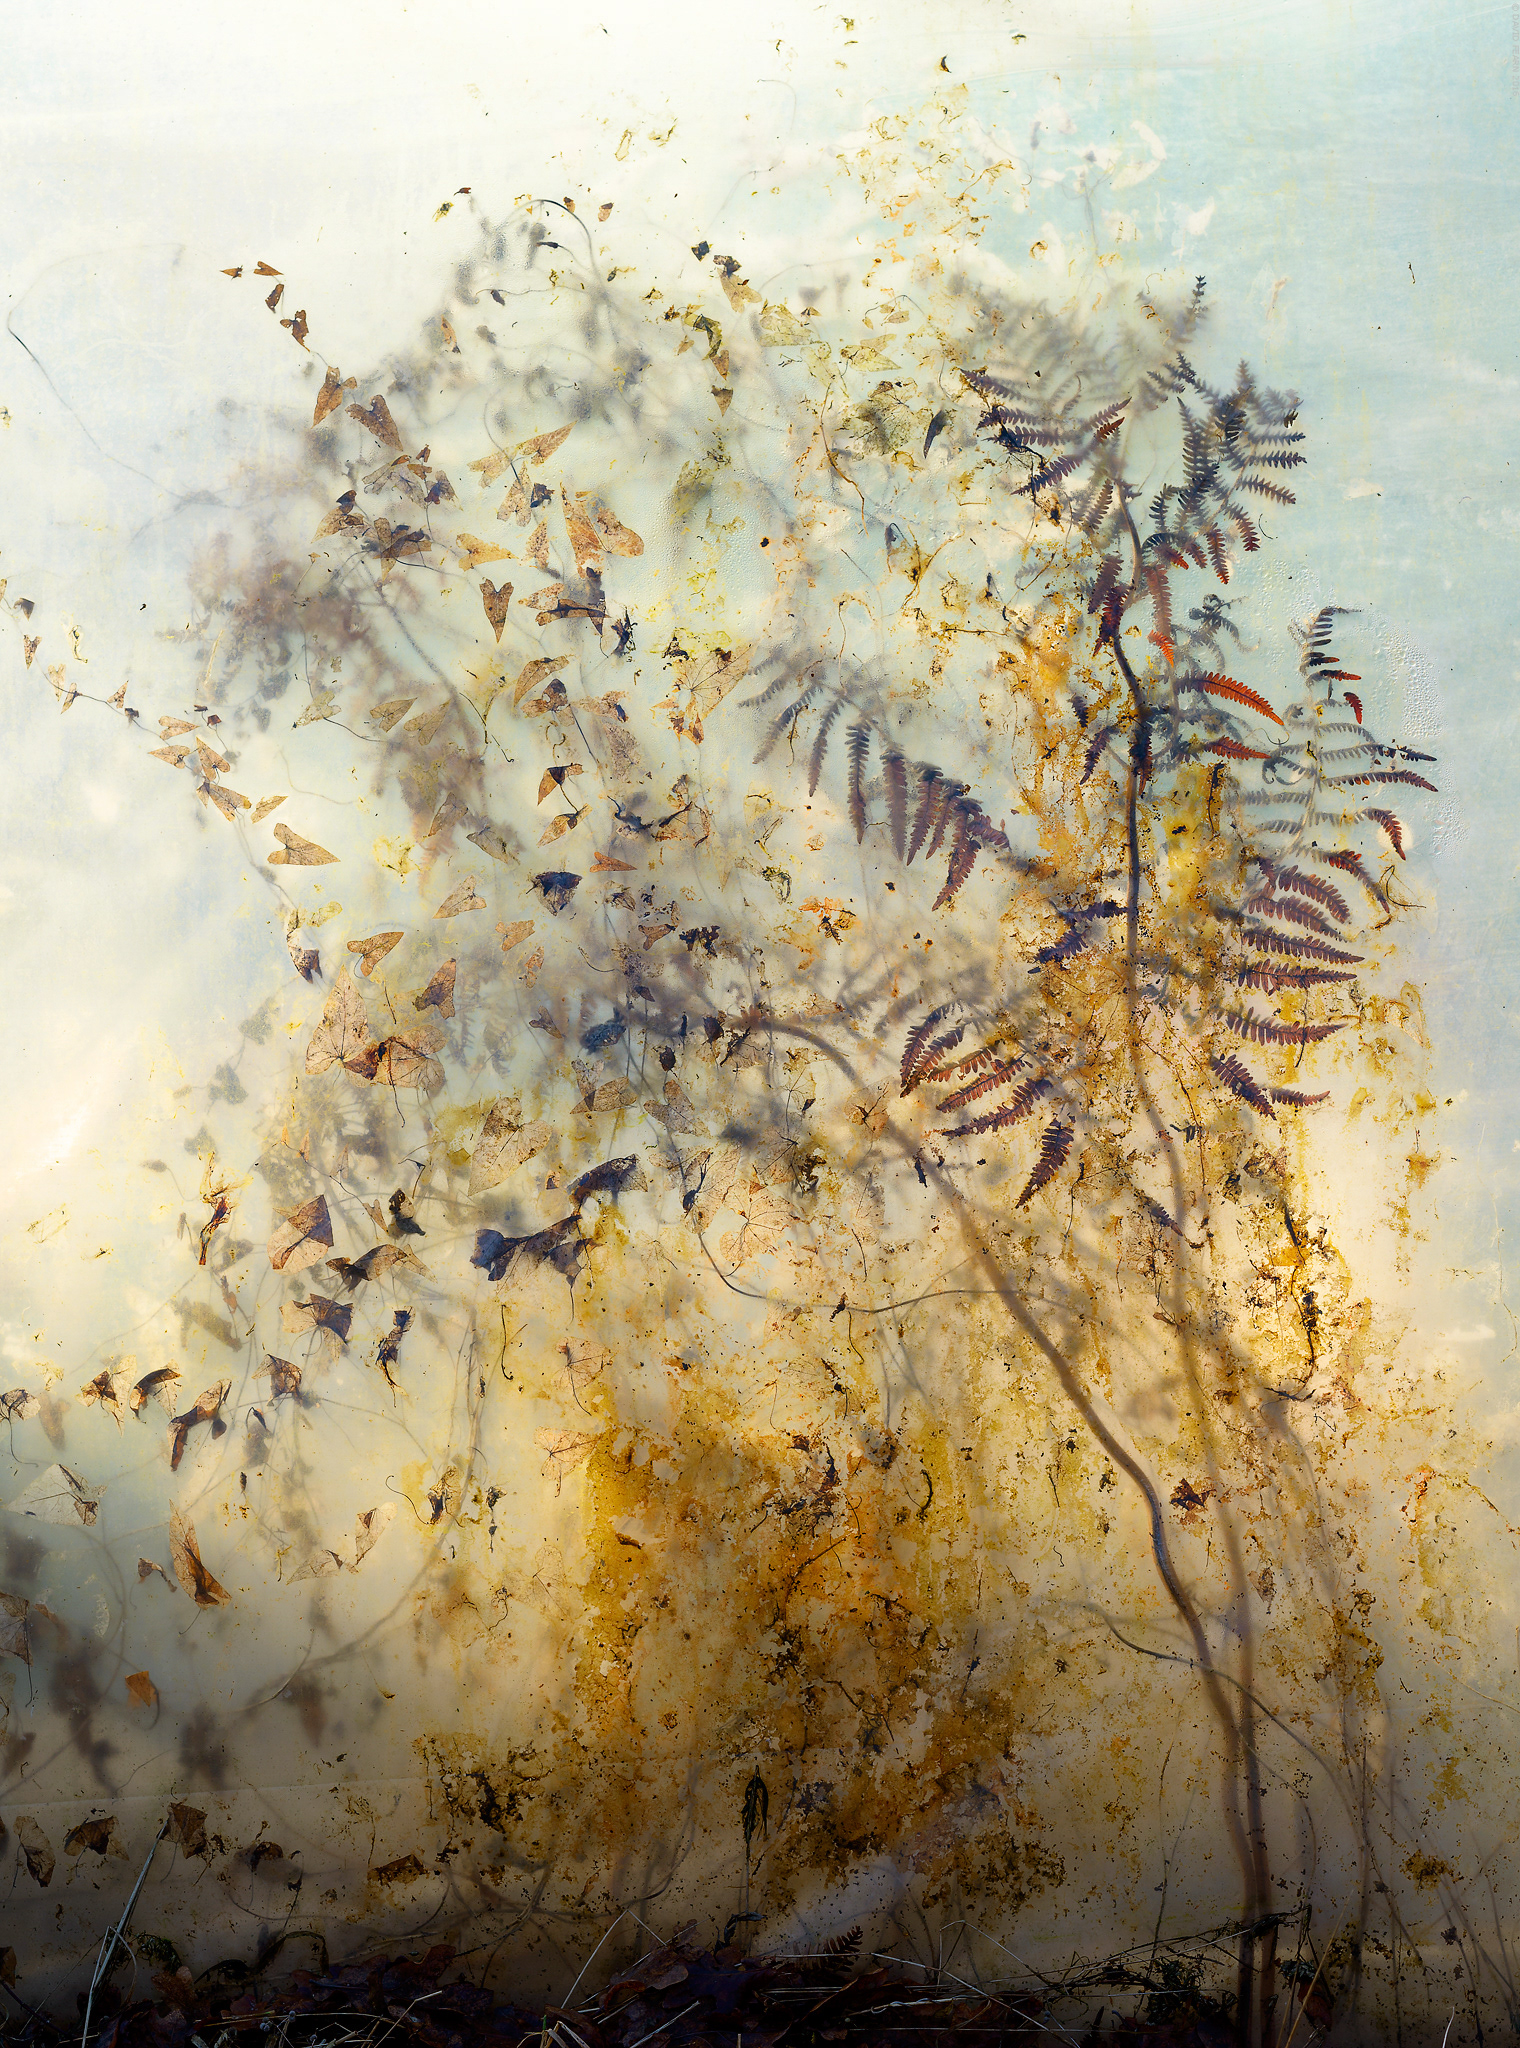
Also, a reminder / note of how much work you have to do to get a digital raw file to roughly approximate to a sheet of Velvia 50 even in close to neutral daylight conditions (i.e. without the colour shifts). Image on right is a D800E raw file edited using the above steps; image on left is digitised sheet of Velvia 50 with few adjustments. Saturation and contrast is right, but still missing that magenta-ish velvia look.